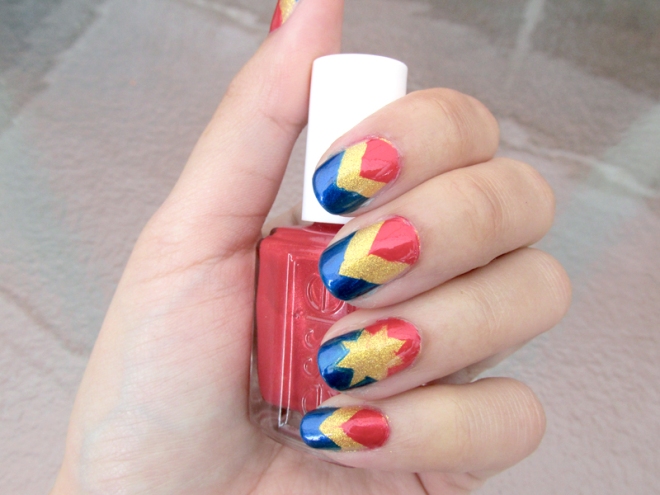
Captain Marvel Mani Tutorial

- Gold polish
- Blue polish
- Red polish
- Scotch tape or similar alternative
- Small detail brush
- Acetone
- Brush to clean your cuticles
Step 1:
Start out with a gold base. Allow it to dry completely. Like, super duper dry. Dry as bone. Dry as the Sahara. Dry as your cutting wit.
Step 2:
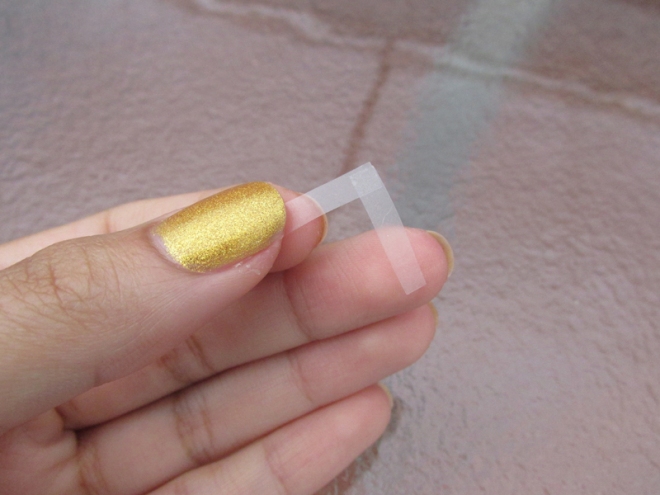
Cut strips of tape and press them together to form a V.
Step 3:
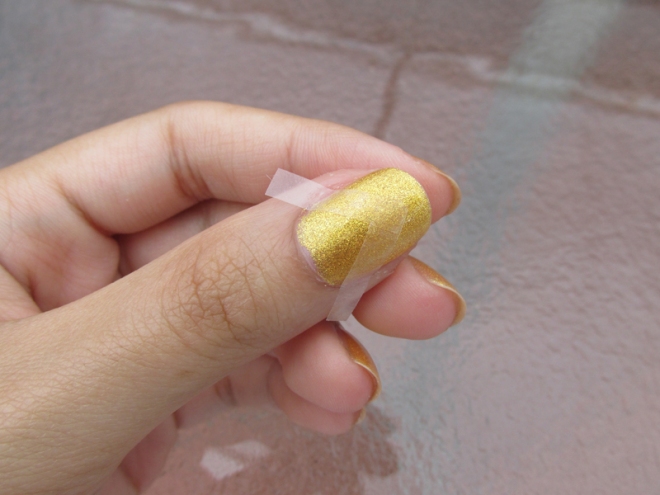
Apply the tape V to four of your nails securely (save for the accent nail, which for my purposes is the ring finger). Press it down well so that no sneaky drops of nail polish worm their way underneath in the next step.
Step 4:
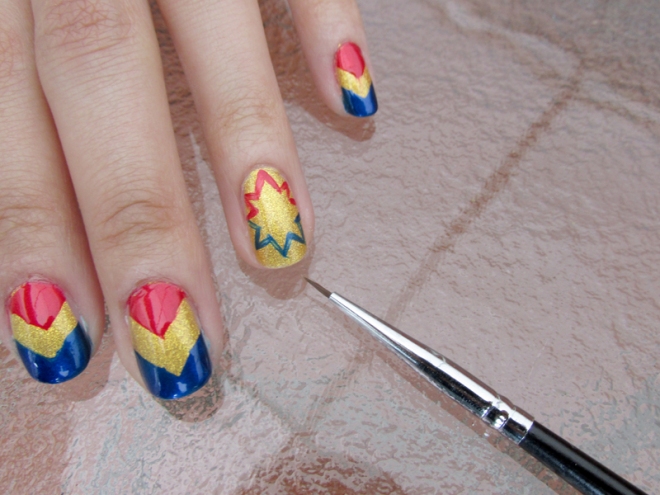
Paint the base of your nail red and the tip blue. You should have both your blue and red polishes ready to go because working fast is a good idea as you’ll need to (carefully) pull the tape off while the polish is still wet otherwise you’ll peel it off.
Step 5:
With the detail brush, paint the outline of Captain Marvel’s eight-pointed star. Since you want half the nail red and half blue with a gold star in the center, you should draw your outline close to the base of the nail in red with short, straight strokes, clean off your brush with acetone, and then complete the star outline in blue. This is probably the hardest step and it’s best to practice drawing your star outline on paper first to make sure you got it.
Step 6:
Fill in the accent nail in red and blue (red near the base of the nail, blue near the tip). Let your nails dry for a bit to avoid color bleeding and then finish them off with a generous layer of clear top coat. Clean up your skin/cuticle area with acetone if necessary. Once you’re all set, head out into the world and make Carol Danvers proud.
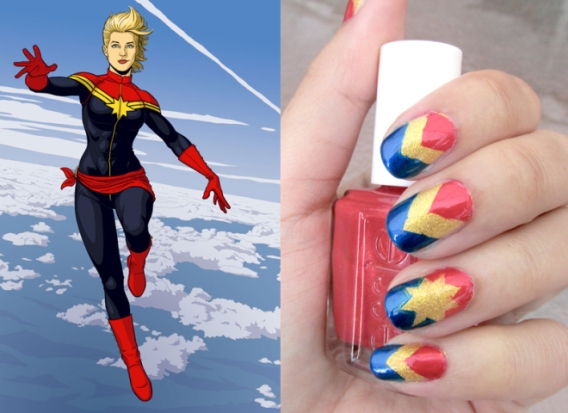



These nails look great. I wish I had the skills to pull it off but I can barely paint them one color! LOL